


Adding Custom Backgrounds in Microsoft Teams
Written by Josh Heng onUpdate - With the new update to Microsoft Teams, you can now do this by going to Virtual Backgrounds and clicking the 'Add' button.
You will need to have the latest version of Microsoft Teams on your Windows PC or Mac. You must have also attended at least one video meeting for the folders to be generated.
Your image will need to be in a .jpg or .png format for this to work. For an optimal background, I would also recommend using a resolution of around 1920x1080 or 1920x1280. If you haven't already got a photo, you can find many for free on websites such as Pixabay and Unsplash.
For this blog post, I will be using this one of New York by JerOme82 (Pixabay).

Copying the Image
To add the custom image, we will need to copy it to the Microsoft Teams background folder.
Windows
-
Press
WINDOWSandRat the same time to get theRundialog box -
Type
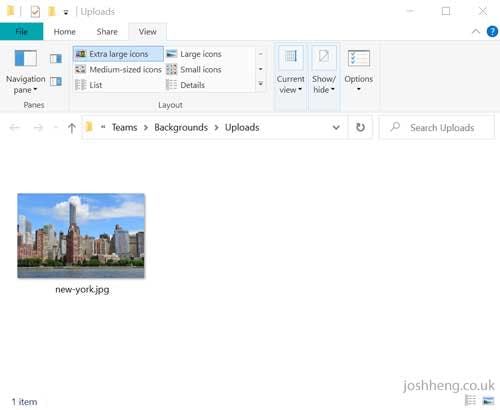
%appdata%\Microsoft\Teams\Backgrounds\Uploadsand clickOk -
Copy your image into the folder

Mac
-
Open
Finderand pressSHIFT,COMMANDandGto open theGo to the folderdialog box (or clickGoin the top menu and thenGo to Folder...) -
Type
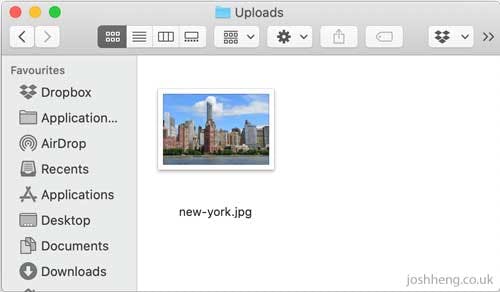
~/Library/Application Support/Microsoft/Teams/Backgroundsand clickGo -
Copy your image into the folder

Applying the Background
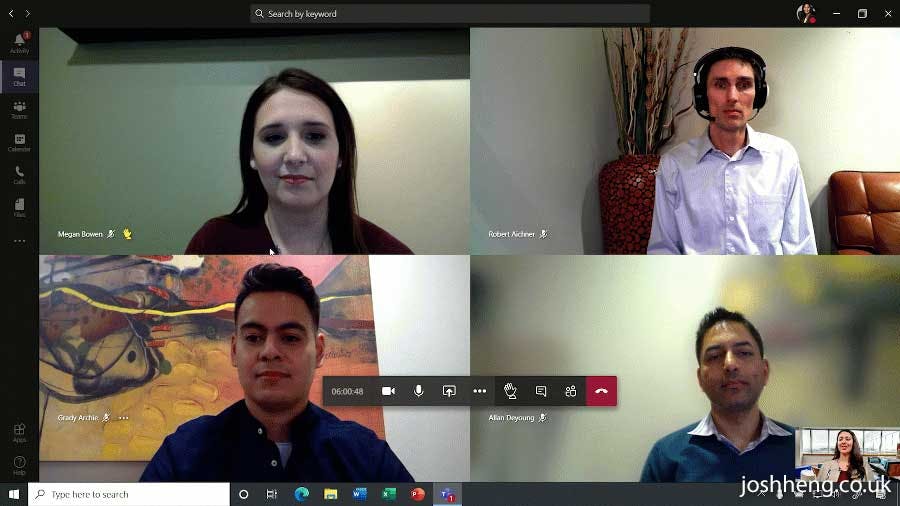
Go back to Microsoft Teams and when you are in a meeting go to the Background Effects menu. You should be able to see your new image in the list - just click it and press Apply!


If you don't see the Background Effects or Options menu, it might be that your organisation or version of Teams doesn't support it.